How to Add a USB Hub to Your WDTV
This is the easiest, and perhaps one of the most useful, new features to implement now that you have custom firmware installed on your WDTV. It is also a great thing to do before you get into some of the other tutorials which will have you plugging in more devices to your unit.
This is ridiculously simple… Take your USB hub and plug it in… It’s that easy. There are however a few caveats…
1. Use a POWERED usb hub. I.E. a Hub that comes with a separate power block
/cord and doesn’t rely on power from the usb port. You might be able to get away with an unpowered hub but you are asking for trouble.
2. The thumbdrive that holds your firmware and any other app bins on it (like the ones from the movie sheets tutorial) should not be plugged into the hub. It needs to be directly plugged in to one of the two ports on the WDTV. So use one port for your Hub
and one port for your main thumb drive.
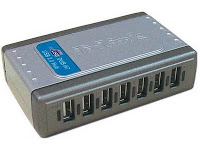
If you follow the above suggestions, most hubs should work. I have a powered 7-Port D-Link DUB-H7 Hub hooked up to mine right now and it works perfectly.
One more note; in the WDTV interface your Hub will show up as one drive/device, but when you open it up all of the drives plugged into the hub
will show up as folders.
Go to Previous Tutorial: How to Install Firmware on your WDTV Media Player!
Go to Next Tutorial: How to Network Your 1st Generation WDTV… Wireless!